How Do I Edit My WordPress Site Without a Developer?
Update and maintain your WordPress site without a developer using AI and visual builders—backup first, manage plugins/themes, test in staging, then publish safely.
How Do I Edit My WordPress Site Without a Developer?
You don’t need a developer to edit your WordPress site. With tools like AI-powered platforms and visual page builders, making changes is now simple and code-free. Whether you want to update your homepage, tweak colors, or add features, here’s how you can manage your site yourself:
- AI Tools: Use platforms like Kintsu.ai to make changes by typing plain English commands.
- Visual Page Builders: Drag-and-drop tools like Elementor let you design pages without coding.
- Backup First: Always back up your site before making updates to avoid losing data.
- Manage Plugins and Themes: Install, update, and customize them directly from your WordPress dashboard.
- Test Before Publishing: Use preview modes or staging environments to check changes before going live.
With these methods, you can confidently take control of your WordPress site without needing technical expertise.
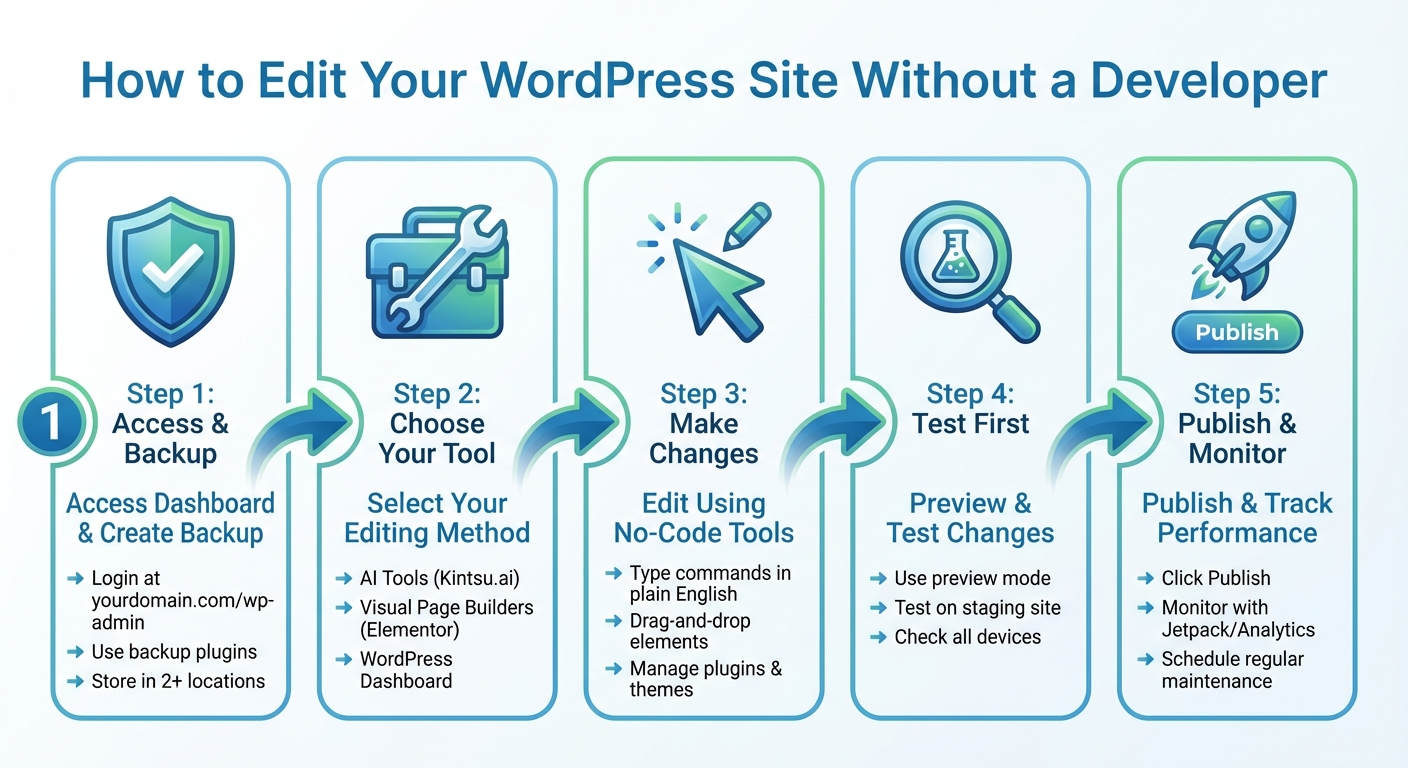
5 Steps to Edit Your WordPress Site Without a Developer
How to Customize WordPress in 2025 (No Coding Required)
Preparing to Edit Your WordPress Site
Before diving into changes on your WordPress site, it's crucial to set up some basic safety measures. These steps will help you confidently manage your site, even if you're not a developer, using straightforward, no-code tools.
Accessing Your WordPress Dashboard
To access your WordPress dashboard, head to yourdomain.com/wp-admin or yourdomain.com/wp-login.php. You'll land on a login page where you need to enter your username or email address and password, then click "Log In". If you've forgotten your password, there's a "Lost your password?" link on the login screen to help you reset it.
For better security, make sure to use a long and complex password.
Creating a Backup of Your Site
Backing up your site is a must - think of it as your safety net against crashes, plugin conflicts, or accidental mistakes. A complete backup includes your site files (like themes, plugins, images, and uploads) and your database (posts, pages, comments, and settings). Store backups in at least two places, such as your local computer and a cloud service like Google Drive or Dropbox. Don’t rely solely on your hosting provider’s backups; they might have limited retention periods or be unavailable during outages.
The easiest way to handle backups is by using a plugin. From your dashboard, go to Plugins > Add New, search for a backup plugin, install it, and set it to run backups automatically. For smaller sites, weekly backups are typically enough. However, if you run a high-traffic site or an e-commerce store, daily backups are a smarter choice.
Understanding WordPress Navigation
Once logged in, you'll see the WordPress dashboard with a menu on the left side - this is your control panel. Here's a quick breakdown of key sections:
- Posts: Manage blog content here.
- Pages: Handle static content like your About or Contact pages.
- Appearance: Customize your site's look and manage themes.
- Plugins: Add or manage functionality.
- Settings: Adjust site-wide options, from your site title to comment settings.
The top navigation bar lets you switch between viewing your live site and the admin area. Spend some time exploring these sections to make editing smoother.
With your dashboard set up, backups in place, and navigation sorted, you're ready to use tools like Kintsu.ai to make editing your WordPress site a breeze.
Using Kintsu.ai for AI-Powered Edits
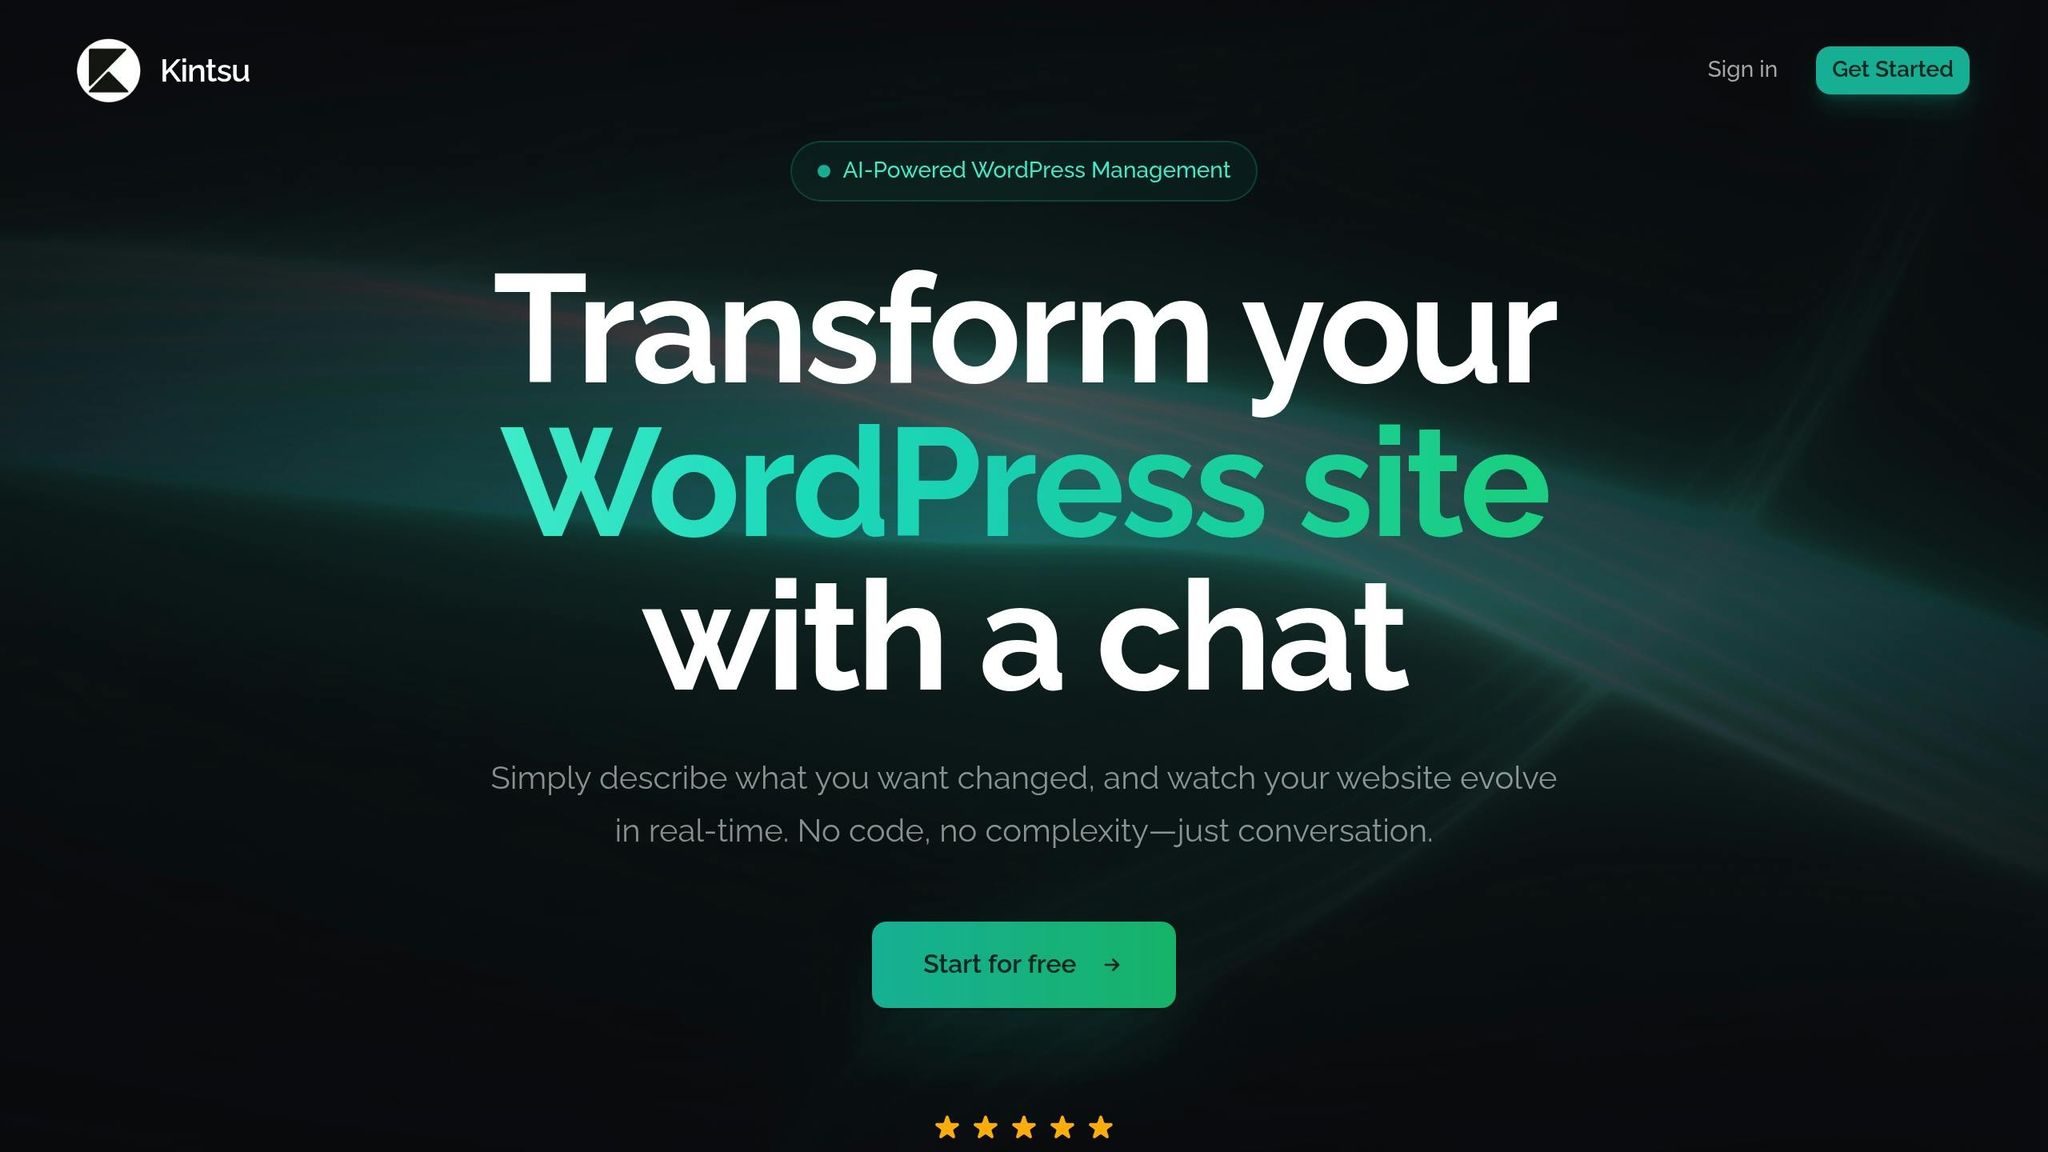
Kintsu.ai offers a fresh way to manage your WordPress site by allowing you to describe changes in plain English and see them applied instantly. This approach simplifies your no-code customization process, eliminating the need for coding or sifting through complex menus. Its conversational interface makes website updates feel as natural as chatting with a colleague.
Connecting Kintsu.ai to Your WordPress Site
Getting started with Kintsu.ai is straightforward and secure. After signing in to your Kintsu.ai account, follow the provided integration steps to link your WordPress site. This secure connection ensures Kintsu.ai can access your site’s data, enabling it to handle updates based on your instructions without compromising security.
Making Changes with Natural Language Commands
Once your site is connected, editing becomes as simple as typing out your thoughts. Want to update your homepage? Just type something like, "Change my homepage headline to 'Welcome to Our Store.'" Need a design tweak? Say, "Make the contact button blue and move it to the top right corner." Kintsu.ai understands your requests and implements updates instantly, covering everything from text and layouts to colors and other design elements - all without writing a single line of code.
Examples of Real-Time Edits with Kintsu.ai
One of the standout features of Kintsu.ai is its ability to show real-time updates, letting you see changes as they happen. For instance, if you want to adjust your navigation menu, you could type, "Add a 'Services' link between 'About' and 'Contact' in the main menu." Looking to improve your contact form? Try saying, "Change the submit button text to 'Get in Touch' and make the form fields wider." If you're reorganizing your homepage, you might command, "Move the testimonials section above the pricing table and add more spacing between them." Each request is processed quickly, making it easy to refine and perfect your site on the fly.
Editing Your Site with Visual Page Builders
Visual page builders make it easy to customize your website without touching a single line of code. These tools give you hands-on, visual control, allowing you to design your site exactly how you want it - no developer required. With drag-and-drop functionality, you can see changes as you make them, offering a level of immediacy that conversational AI edits can't match. Here's how to get started with a visual page builder and make the most of its features.
Installing and Setting Up a Page Builder
Getting a page builder up and running is quick and straightforward. Start by logging into your WordPress admin panel. Head over to Plugins > Add New. From there, you can either search for a free page builder in the plugin directory and click Install Now, or upload a .zip file if you're using a premium version. Once installed, click Activate to enable the plugin.
If you're using a premium page builder, you'll likely need to enter a license key to unlock all features and receive updates. Navigate to the plugin's settings in your WordPress dashboard, input the license key in the appropriate field, and save your changes. Once activated, the builder will usually be accessible directly from the WordPress admin bar when viewing your site or through an "Edit with [Builder Name]" option in your page management area.
Customizing Layouts with Drag-and-Drop Tools
The drag-and-drop functionality of page builders lets you design pages in real time. You'll see a live preview of your website alongside a panel or sidebar filled with widgets like text boxes, images, buttons, and forms. Simply drag these elements onto your page and adjust their settings through an easy-to-use menu. You can tweak colors, fonts, spacing, and layouts on the spot, watching your changes take effect immediately.
For a head start, most page builders come with pre-designed templates for popular page types, such as homepages, contact pages, and landing pages. These templates provide a polished foundation that you can customize to fit your brand's look and feel. Swap out images, update the text, and rearrange sections to suit your needs. Once your design is complete, focus on optimizing performance to ensure your site runs smoothly.
Optimizing Page Builder Performance
While page builders are powerful tools, they can add extra code to your site, which may impact loading speeds. To keep your site fast, start by compressing your images before uploading them. Tools like ShortPixel or Imagify make this process simple. Whenever possible, use modern image formats like WebP and enable lazy loading so images only load as visitors scroll to them.
Another way to improve performance is to limit the number of widgets and plugins you use on each page. Each additional widget adds to your site's load time, so stick to only what’s necessary. Pair your page builder with a lightweight theme designed for compatibility, and disable any unused features like extra icon libraries or scripts. Installing a caching plugin, such as WP Rocket or LiteSpeed Cache, can also help. These plugins automatically minify your CSS and JavaScript files, reducing the number of requests your site makes and speeding up page delivery. Finally, clean up your database regularly to delete old revisions, spam comments, and other unnecessary data.
sbb-itb-42d7c06
Managing Plugins and Themes
Plugins and themes define how your site functions and looks. Managing them carefully ensures your site stays secure and operates smoothly - even if you’re not a coder.
Selecting and Installing Plugins
Choosing the right plugins requires some research. Start by exploring the WordPress plugin directory. Check ratings and user reviews to understand other users’ experiences. Poor ratings often indicate issues you’ll want to steer clear of. Pay attention to the "Last updated" date - plugins that haven’t been updated in a while may not be compatible with your WordPress version and could present security risks. The "Active installations" count is another useful indicator of a plugin’s popularity and reliability.
To install a plugin, go to Plugins > Add New, search for the one you want, and click Install Now. For premium plugins, download the ZIP file from the developer’s site, then go to Plugins > Add New > Upload Plugin, upload the ZIP file (without unzipping it), and click Install Now. Once installed, activate the plugin to start using it.
Always back up your site before installing a new plugin. For added safety, test new plugins on a staging site - a duplicate of your live site - so you can experiment without impacting your visitors. After activation, configure the plugin settings to meet your needs, and delete any inactive plugins to minimize security risks and keep your dashboard organized.
Customizing and Updating Themes
To tweak your site’s look, use Appearance > Customize, where you can adjust colors, fonts, layouts, and other design elements without writing code. Before updating your theme through Appearance > Themes, make sure to back up your site. If you’ve made custom changes to your theme, use a child theme to ensure those changes aren’t lost during updates.
Keeping themes updated is essential. Outdated themes are a major security risk - over 80% of hacked WordPress sites have outdated components. Updates also fix bugs, introduce new features, and ensure your theme works with the latest WordPress core and PHP versions. Before updating, check the theme’s compatibility with your current WordPress version and installed plugins to avoid potential conflicts. Only download themes from trusted sources like the WordPress.org repository, official developer websites, or reputable marketplaces.
Using AI Tools for Plugin and Theme Management
AI tools can make managing plugins and themes easier by letting you perform tasks using simple, natural language commands. For instance, platforms like Kintsu.ai allow you to connect your WordPress site and issue commands like "install contact form plugin" or "update theme to latest version." These tools handle the technical steps for you.
You can also request design changes, such as "Set header background to light grey" or "Round all buttons to 8px." The AI generates and applies the necessary code, often providing a preview so you can review changes before they go live. This preview-and-approve process helps you avoid mistakes and ensures your site looks exactly how you want it.
Testing and Publishing Your Changes
Before making your changes live, it's crucial to test them thoroughly. This helps avoid broken pages, layout glitches, and unhappy visitors. WordPress makes this easy with built-in preview modes. The Preview button lets you see how your posts and pages will appear across different devices. If you're tweaking themes, the Theme Customizer allows you to preview updates to widgets, menus, and custom CSS in real time before saving anything.
Using Preview and Staging Environments
For more extensive testing, a staging environment is your best friend. A staging site is essentially a copy of your live website where you can test updates, plugins, or redesigns without impacting your actual site. Whether you're installing new plugins, experimenting with themes, or adjusting layouts, staging gives you the freedom to troubleshoot issues without your visitors ever knowing.
Publishing Your Updates
Once you're confident everything works as expected in both preview and staging, it's time to publish. In the WordPress editor, simply click the Publish button to make your changes live. If you've made adjustments using the Customizer, hitting Publish will apply those changes across your site. For those working on a staging site, follow your hosting provider's process to push the updates live - this might involve a "Push to Live" button or a sync operation. Always back up your site before rolling out major updates.
Monitoring Your Site After Updates
After publishing, keep an eye on your site to make sure everything runs smoothly. Tools like Jetpack Activity Log can help you track changes and troubleshoot issues. For example, if your site experiences downtime, you can use the log to see if a plugin update was the culprit. Access this feature under Jetpack > Activity Log, where you can filter activities by date or type to pinpoint specific changes.
For performance insights, plugins like MonsterInsights integrate Google Analytics directly into your WordPress dashboard. This lets you monitor metrics like pageviews, bounce rates, and traffic sources to ensure your updates haven't negatively impacted your site. To keep an eye on SEO performance, tools like All in One SEO can alert you to content decay, such as pages losing traffic or search rankings.
Regular site maintenance is just as important. Every three to six months, schedule tasks like updating files, testing forms, optimizing your database, fixing broken links, and reviewing security logs. Don't forget to verify that your contact and subscription forms are sending notifications to the correct email addresses. These ongoing practices complement your backup and update strategies, keeping your site running smoothly.
Conclusion
Editing your WordPress site without relying on a developer has never been easier, thanks to advancements in AI and no-code tools. By now, you’ve seen how to navigate the WordPress dashboard, create backups, and use visual page builders to design layouts with simple drag-and-drop functionality. Managing plugins and themes has also become a straightforward process with the right tools at your disposal.
AI is taking these capabilities to the next level, seamlessly integrating into every part of WordPress site management. Tools like Kintsu.ai highlight this evolution, offering natural language-based updates that make managing your site faster and more intuitive. Instead of diving into technical complexities, you can describe your vision, and the platform will implement changes instantly.
The WordPress ecosystem is evolving at a rapid pace. A dedicated AI team is now part of core development, with new AI-driven features planned for future releases. According to a 2025 GravityKit Community Survey of over 100 WordPress users, only a small percentage reported never using AI tools in WordPress, illustrating the growing reliance on these advancements.
"We're currently in the exploration phase of AI adoption in WordPress,… Over time it will become clear where they are most impactful - whether for prototyping, automation, brainstorming, designing, coding, copywriting…"
- GravityKit Community Survey (2025 AI in WordPress)
FAQs
How can I back up my WordPress site before making changes?
To keep your WordPress site safe, consider using an automated backup plugin like UpdraftPlus. It allows you to schedule backups and store them either in the cloud or on a local device. If you prefer, you can also go the manual backup route by accessing your hosting provider's cPanel or phpMyAdmin. This method ensures you can download and save copies of your site files and database. For added security, always keep backups in multiple places, such as a cloud storage service and an external hard drive, to minimize the risk of losing your data.
What are the benefits of using AI tools like Kintsu.ai to update your WordPress site?
AI tools like Kintsu.ai simplify WordPress site management by handling complex tasks automatically, so you don’t need advanced technical skills. Whether it’s editing layouts, generating content, or customizing designs, you can make changes quickly - without touching a single line of code.
These tools also enhance precision, optimize SEO, and tailor user experiences to your audience. By automating routine tasks, they save you time and make managing your website more efficient and adaptable to growth.
How can I keep my WordPress site fast and efficient when using visual page builders?
To keep your site running smoothly and quickly, begin with a lightweight theme built for speed. Streamline your site's assets by compressing images, reducing the size of CSS and JavaScript files, and turning on caching. You can also improve load times by deferring scripts that aren't immediately needed. Opt for a page builder focused on performance - one that produces clean, efficient code without adding extra clutter. These practices will help your site stay fast and easy for users to navigate.