3 Steps to Create Forms with AI in WordPress
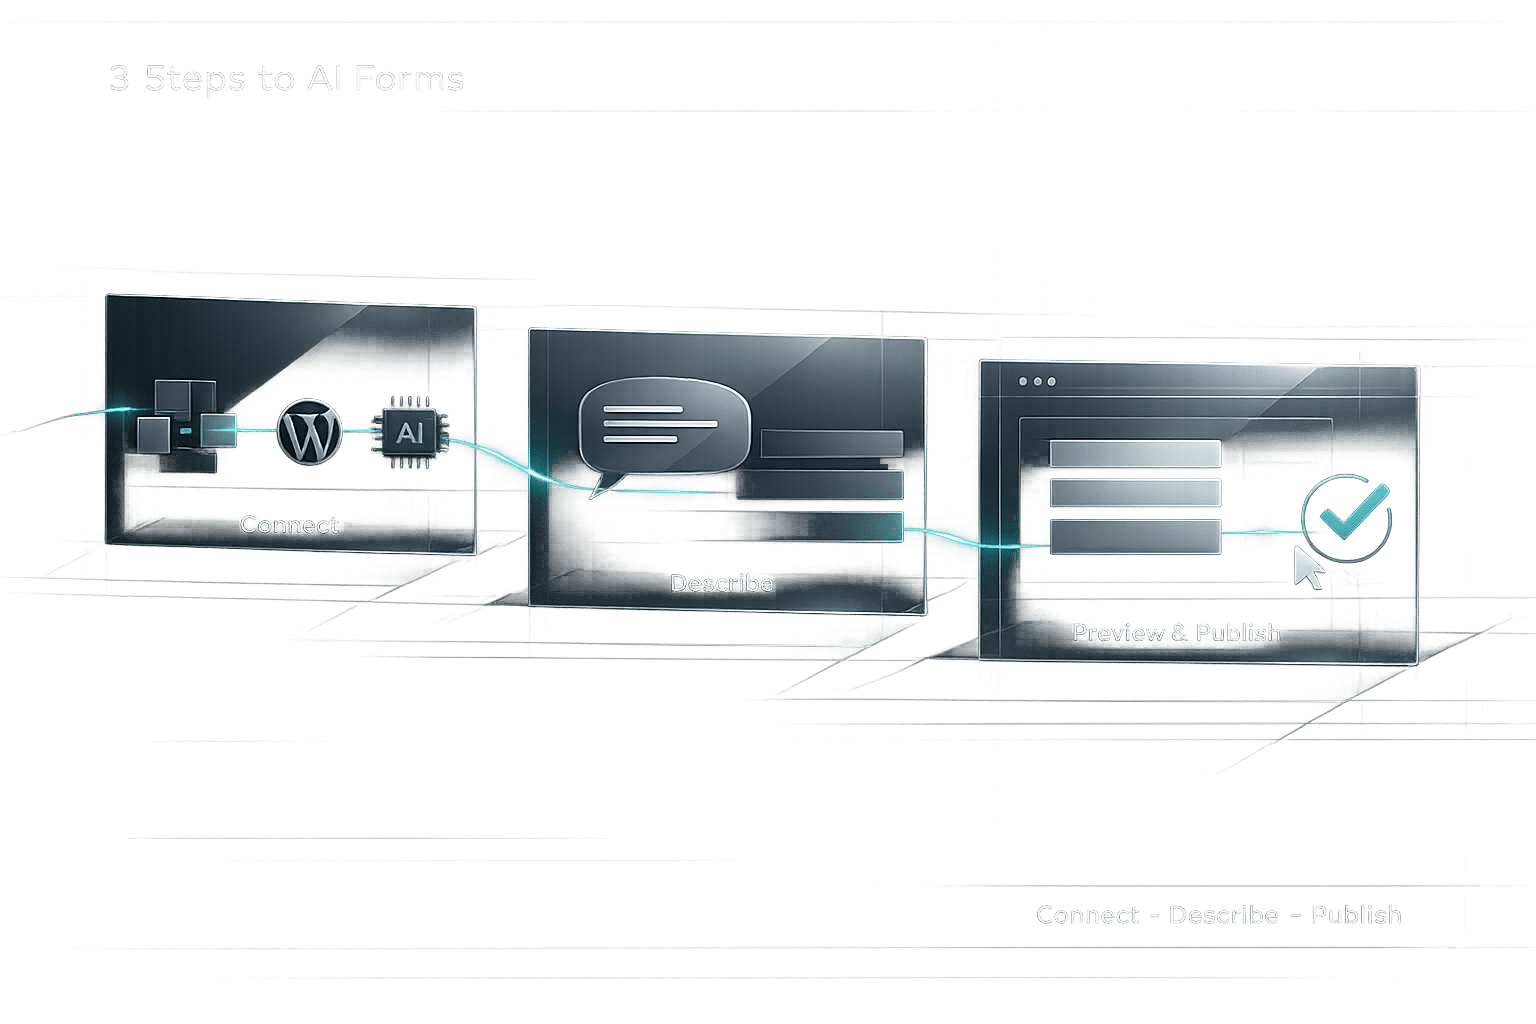
Create and publish WordPress forms in minutes using AI: connect the plugin, describe fields in plain language, preview in a sandbox, then publish and test.
3 Steps to Create Forms with AI in WordPress
Creating forms in WordPress is now faster and simpler thanks to AI tools like Kintsu.ai. Instead of struggling with plugins or coding, you can describe your needs in plain English, and the AI will generate a fully functional form in seconds. Here's how it works:
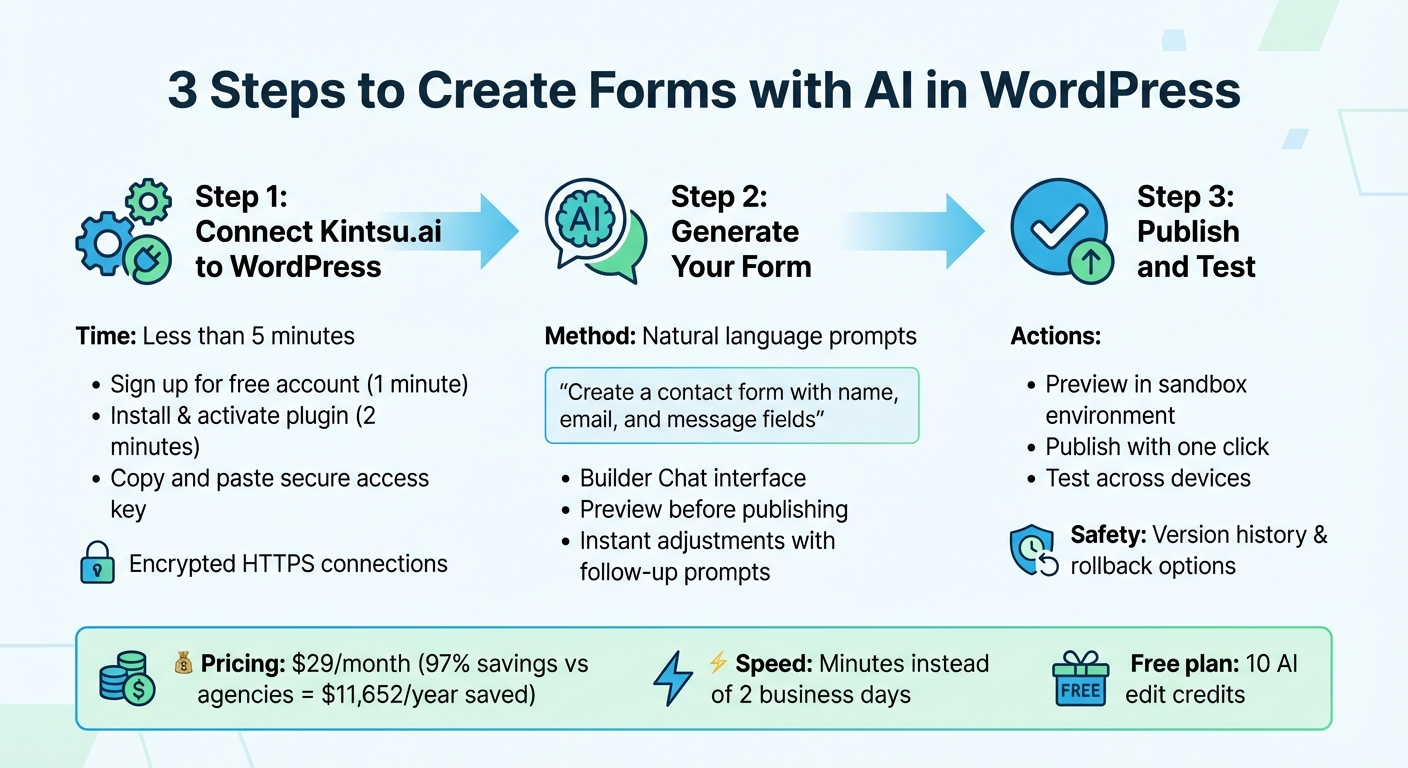
- Connect Kintsu.ai to WordPress: Sign up for a free account, install the plugin, and securely link your WordPress site.
- Generate Your Form: Use natural language prompts in the Builder Chat to describe the form you need, like "Create a contact form with name, email, and message fields."
- Publish and Test: Preview the form in a sandbox environment, make adjustments, and publish it live with one click.
Kintsu.ai's intuitive interface, sandbox testing, and rollback options ensure quick and secure updates. At $29/month for the Builder plan, it's a cost-effective alternative to hiring developers. Whether you need a contact form, RSVP form, or survey, AI makes the process straightforward and accessible.
3-Step Process to Create WordPress Forms with AI
Step 1: Connect Kintsu.ai to Your WordPress Site
Setting up Kintsu.ai with your WordPress site is quick and straightforward. You can complete the entire process in less than 5 minutes, and no technical expertise is needed.
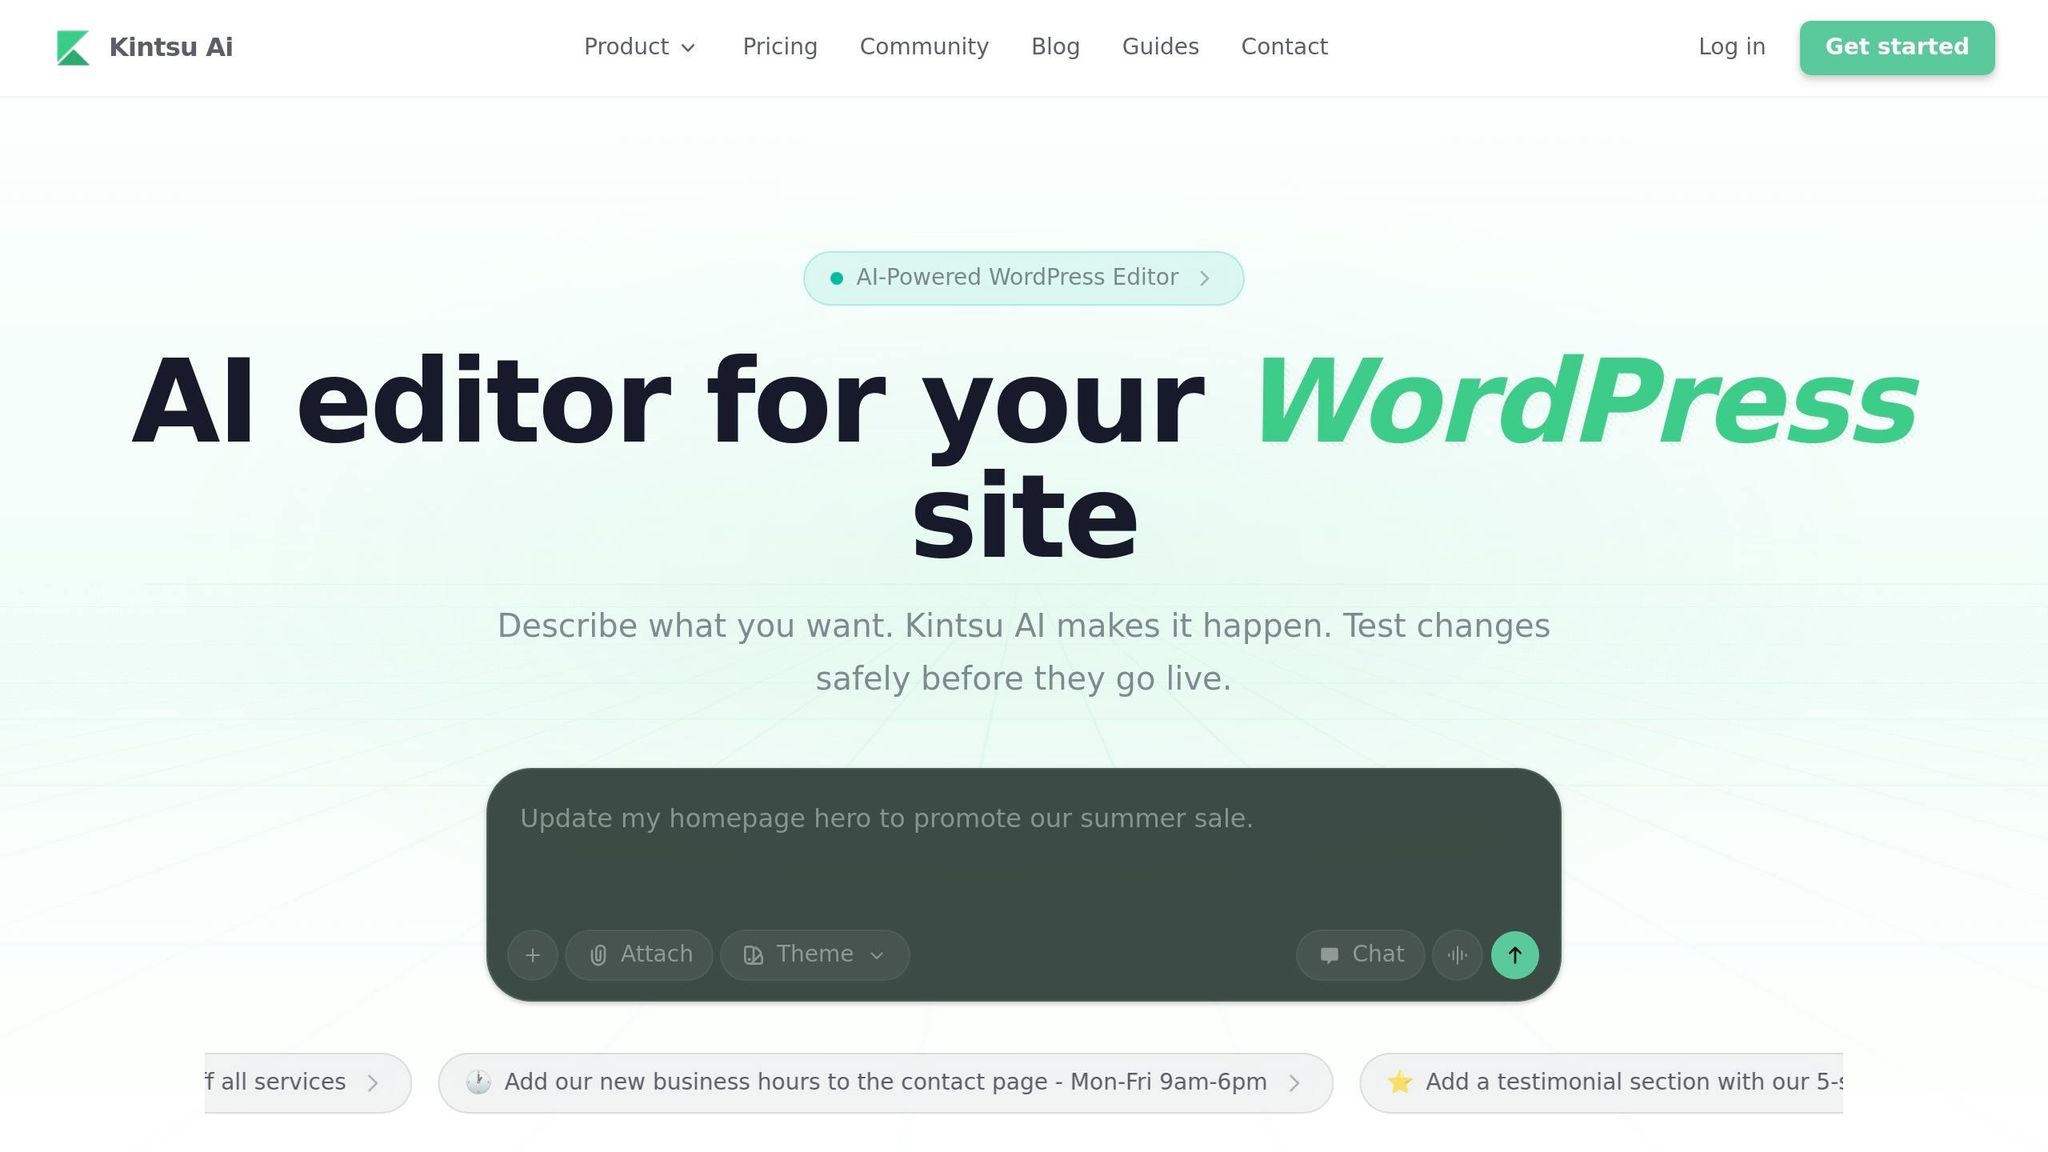
Access the Kintsu.ai Dashboard
Start by visiting kintsu.ai to create a free account - it only takes about a minute. The free plan gives you 1 site connection and 10 AI edit credits to experiment with, and you won’t need to provide a credit card. Once you’ve signed up, you’ll land on the dashboard, which serves as your control center for managing site connections and initiating AI-powered edits.
Link Your WordPress Site
To connect your WordPress site, head to your WordPress admin panel. Download, upload, and activate the Kintsu AI plugin - a process that takes roughly 2 minutes. When the plugin is activated, it will generate a secure access key. Copy this key and paste it into the Kintsu.ai dashboard to finalize the connection.
Kintsu.ai prioritizes security by using encrypted HTTPS connections and securely hashed access keys. It doesn’t store your admin credentials, giving you peace of mind about your data. Make sure your WordPress version is 5.9 or newer and supports REST API, as these are essential for communication with Kintsu.ai. The platform works seamlessly with popular hosting providers like WP Engine, SiteGround, and Bluehost.
Verify the Connection
Once you’ve entered the access key, look for a confirmation message on your dashboard indicating that the integration is active. To double-check everything is working, try sending a test prompt in the Builder chat - something like, “Describe my current homepage layout.” If the AI provides details about your site’s structure, you’re good to go. You’ll also gain access to the Safe Edit Pipeline, which lets you preview and test changes in a sandbox environment before pushing them live.
Now that your WordPress site is connected, you're ready to move on to Step 2 and start generating your form with AI.
sbb-itb-42d7c06
Step 2: Generate the Form with AI
You can create forms effortlessly by describing your needs in plain English. The Builder Chat interface takes care of the heavy lifting, so there's no need for manual coding or navigating complicated admin panels. Once your site is linked, you’re ready to use AI's Builder Chat to generate your form.
Write Your Form Request
Start by opening Builder Chat on your dashboard and typing out your request. Be clear about what you want. For instance, you could say: "Create a contact form with fields for name, email, phone number, and a message." The AI will take your description and turn it into a functional form.
You can also specify where the form should go. For example, try prompts like "Add a registration form to the sidebar of the events page" or "Place a newsletter signup form in the footer." If you’re unsure of the exact details, switch to Discussion mode. This allows you to brainstorm with the AI, refine your ideas, and finalize your requirements before anything is applied to your site.
Review and Adjust the Form
Once the form is generated, it will appear in the preview for you to review. Take a moment to ensure the fields and design align with your expectations. If something needs tweaking, simply provide a follow-up prompt like "Add a newsletter opt-in checkbox" or "Make the phone number field required."
The platform also comes with built-in safeguards. If your request risks disrupting the site layout or clashing with your theme, the system will suggest better alternatives. And if something doesn’t look right, the instant rollback feature lets you undo specific changes or revert to a previous version using the tracked version history. Keep refining with additional prompts until the form is exactly what you need.
Step 3: Publish and Add the Form to Your Site
Once you've fine-tuned your form, it's time to make it live. Transitioning from preview to publication should feel seamless and straightforward.
Preview the Form
Take advantage of the sandbox preview feature to double-check the form’s layout and spacing before publishing.
"Preview changes safely in a sandbox. When you're happy, publish to your live site with one click." - Kintsu.ai
This step helps identify any layout issues or plugin conflicts early on. Once you're satisfied with the preview, you’re ready to embed the form into your site.
Add the Form to Pages or Posts
Decide exactly where the form should appear on your site, whether that's at the bottom of an "About Us" page or in the sidebar of your blog posts. Simply specify the placement, and the platform will handle the technical setup.
The system ensures the form integrates smoothly with your site’s existing layout and design framework. After reviewing the placement in the preview, hit publish to make it live. Every update is logged in the version history, so you can easily revert changes if needed.
Test the Form
Once the form is live, run a test submission to ensure everything is functioning properly. Check that field validations work as expected and that the success message displays upon submission. Verify notification emails are sent to the correct inbox - don’t forget to check your spam folder during this process.
Make sure to test the form across different devices, including desktop, tablet, and mobile, to confirm it displays correctly. If your form includes conditional logic or specific field behaviors, test those features thoroughly to ensure they work as intended. This comprehensive testing guarantees that visitors will have a smooth and reliable experience when using your form.
Tips for Writing Better Prompts with Kintsu.ai
Once you've worked through the form creation steps, it's time to fine-tune your prompts. Crafting clear, specific instructions is key to getting the best results from Kintsu.ai. Think of it like ordering a custom sandwich - the more precise you are about what you want, the closer the final product will match your expectations.
Specify the Form's Purpose
Start by clearly stating what the form is for, such as "Event RSVP", "Job Application", or "Product Feedback." This helps the AI choose fields and layouts that fit your needs. For example, if you request an "Event RSVP" form, the AI might include fields for dietary preferences or attendance confirmation. On the other hand, a "Job Application" form might automatically suggest fields for uploading resumes and listing work experience.
Be clear about which fields are required and which are optional. Instead of a vague request like "make a form", try something like: "Create a contact form with Name (Required), Email (Required), and a Message box." If you need advanced features, such as conditional logic, mention that too: "Show the dietary preferences field only if the user selects 'Attending'."
Keep Prompts Simple
Stick to the basics and focus on the most important details. Use commas to list fields for clarity, like: "Include fields for Name, Company, Email, and Job Title." If the initial result isn't quite right, you can refine it with follow-up prompts. For example, you could say: "Move the email field to the top" or "Make the company name field required."
Avoid vague instructions like "Fix the form" or "Make a form." Instead, be descriptive and specific about what you need. For more complex forms, it might help to draft your prompt in a tool like ChatGPT before pasting it into Kintsu.ai.
Prompt Examples and Results
Here are a few examples of prompts and the forms they generate:
| Sample Prompt | Generated Form Fields / Results |
|---|---|
| "Event RSVP form with name, email, and dietary preferences fields." | Name, Email, Dietary Preferences (Dropdown or Checkboxes) |
| "Online course feedback survey." | Course rating scale, Instructor name, Text area for improvement suggestions |
| "Contact form with name, email, phone, subject, message, and newsletter checkbox." | Name, Email, Phone, Subject, Message (Multi-line), "Subscribe" Checkbox |
| "Job application form for a web designer." | Name, Email, Portfolio URL, Resume upload field, Years of experience |
| "Weighted quiz about WordPress basics with 5 questions and outcome thresholds." | 5 Multiple-choice questions, Scoring logic, Result outcomes based on score |
Kintsu.ai also lets you specify where on your site the form should appear. For instance, you can include instructions like "on the homepage hero" or "in the footer," ensuring the form integrates seamlessly with your layout. By applying these strategies, you can create forms that are tailored to your exact needs with minimal effort.
Wrapping It Up
Building forms in WordPress doesn't have to be a hassle filled with tricky plugins or hefty development costs. With just three straightforward steps - connecting Kintsu.ai to your site, using natural language prompts to create the form, and publishing it after a quick preview - you can have a fully functional form live in just minutes.
The real game-changer here is how accessible this process becomes. Whether you're running a small business, managing marketing tasks, or just trying to avoid WordPress headaches, Kintsu.ai eliminates the need for coding know-how. Simply describe what you need in plain English, and the AI takes care of the technical details. Plus, it ensures your site stays secure with sandbox testing and instant rollback options.
On top of that, Kintsu.ai's Builder Plan is priced at $29/month, with a free option for up to 10 edits. This translates to a massive 97% savings compared to typical agency fees - cutting costs by around $11,652 annually. And tasks that used to take two business days? Now they’re done in minutes.
With its conversational interface, Kintsu.ai turns your plain-English requests into real-time, secure updates, giving you fast and accurate results without the usual delays.
FAQs
Will this work with my WordPress theme?
When it comes to using AI form creation tools with your WordPress theme, the key factor is the specific plugin or tool you're working with - not necessarily the theme itself. Most tools, like Kintsu.ai for site editing, are built to integrate seamlessly with standard WordPress themes. However, to avoid any hiccups, it's a good idea to verify if the tool you're considering explicitly supports your theme or if it involves any unique setup requirements.
Where do form submissions go?
When you create form submissions in WordPress using AI tools, they’re usually sent to the email addresses specified in the form's notification settings. Many plugins also offer built-in submission management systems, allowing you to store and access submissions directly within WordPress. To avoid any mishaps, double-check your notification settings to ensure submissions are sent to the right email addresses or saved in the intended location.
How do I undo a change if something breaks?
Before making any updates, it’s smart to preview and double-check your changes to ensure everything works as expected. If something goes wrong, you can fix it by editing or removing the problematic form. Having backups or using version control can be a lifesaver, allowing you to roll back to earlier settings. Testing updates in advance is a reliable way to avoid issues that could disrupt your site.